The art of cooking
AI CHEF Blog

Pickling for Beginners: Step-by-Step Instructions
Pickling is a time-honored method of preserving food that not only extends its shelf life but also enhances its flavor. This simple process involves immersing food in a solution of vinegar, water, and salt, or fermenting it to achieve a tangy taste. If you're new to pickling, this guide will provide you with everything you need to know to get started, from the basics to step-by-step instructions.
What is Pickling?
Pickling is a preservation technique that has been used for centuries. While there are many methods of pickling, the two primary types include:
- Brined Pickling: This involves immersing food in a solution of vinegar and salt.
- Fermented Pickling: This process relies on the natural fermentation of food by beneficial bacteria, creating lactic acid, which acts as a preservative.
Both methods yield delicious results, and you can experiment with different ingredients and spices to create unique flavors.
Why Pickle?
There are many reasons to try pickling:
- Preservation: Extend the life of seasonal produce.
- Flavor: Add a burst of flavor to your meals.
- Health Benefits: Fermented pickles can improve gut health.
- Creativity: Experiment with different ingredients and spices.
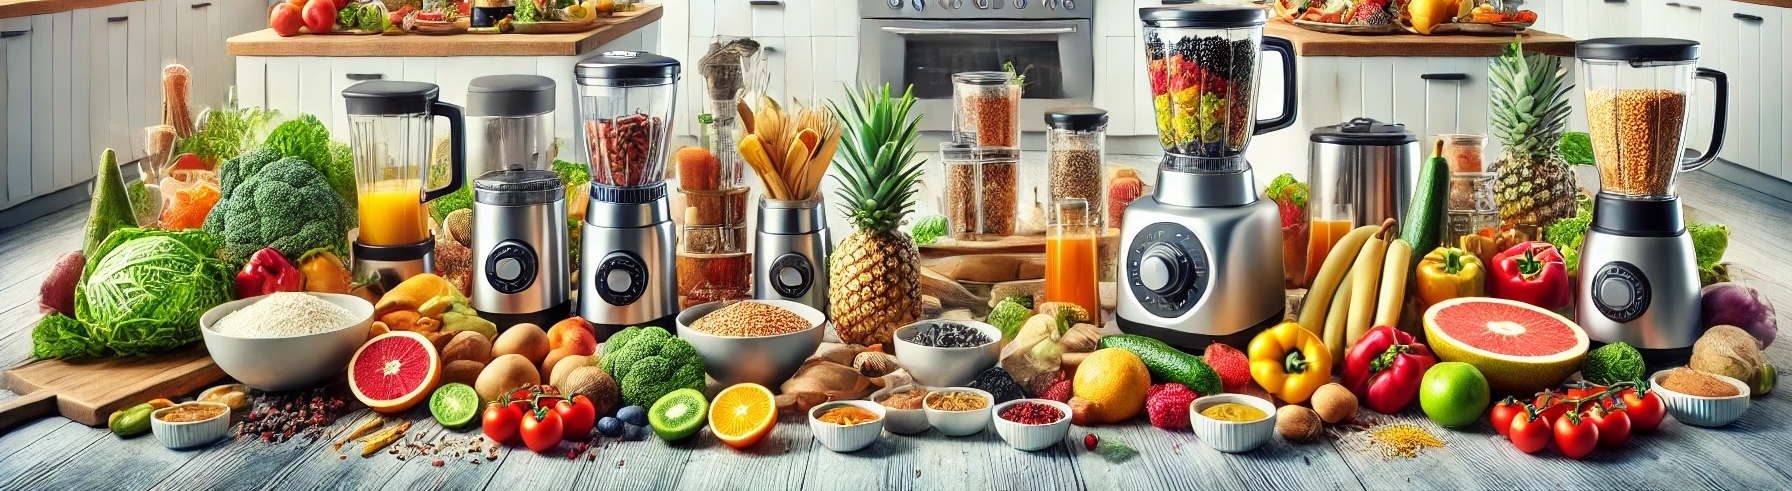
Essential Supplies for Pickling
Before you start pickling, gather the necessary supplies:
- Jars: Use glass jars with tight-fitting lids. Mason jars are a popular choice.
- Pickling Salt: Choose non-iodized salt specifically for pickling.
- Vinegar: Use high-quality vinegar, such as white vinegar, apple cider vinegar, or rice vinegar.
- Fresh Produce: Select fresh, seasonal fruits and vegetables.
- Spices and Herbs: Experiment with garlic, dill, mustard seeds, peppercorns, and more.
- Measuring Cups and Spoons: For accurate measurements of your ingredients.
- Large Pot: For boiling water or sterilizing jars.
- Funnel: To help fill jars without making a mess.
Basic Pickling Recipe
Here’s a simple recipe to get you started with quick pickles:
Ingredients:
- 2 cups of sliced cucumbers
- 1 cup of water
- 1 cup of vinegar (white or apple cider)
- 1 tablespoon of pickling salt
- 1 tablespoon of sugar (optional)
- 2 cloves of garlic, peeled and crushed
- 1 teaspoon of mustard seeds
- 1 teaspoon of peppercorns
- Fresh dill (optional)
Instructions:
- Prepare the Jars: Start by sterilizing your jars. Wash them in hot, soapy water or run them through the dishwasher. You can also place them in a large pot of boiling water for 10 minutes.
- Prepare the Vegetables: Slice the cucumbers into your desired shape (spears, rounds, or halves). You can also add other vegetables like carrots or radishes.
- Make the Brine: In a saucepan, combine water, vinegar, salt, and sugar (if using). Bring the mixture to a boil, stirring until the salt and sugar dissolve.
- Add Spices: Remove the brine from heat and add the crushed garlic, mustard seeds, peppercorns, and fresh dill if desired. Let it sit for about 10 minutes to infuse the flavors.
- Pack the Jars: Using a funnel, pack the sliced cucumbers into the sterilized jars, leaving about 1/2 inch of headspace at the top.
- Pour the Brine: Carefully pour the hot brine over the cucumbers, ensuring they are fully submerged. Leave a little space at the top of each jar.
- Seal the Jars: Wipe the rims of the jars with a clean cloth to remove any residue. Place the lids on the jars and screw on the bands until they are fingertip-tight.
- Cool and Refrigerate: Allow the jars to cool to room temperature, then place them in the refrigerator. Your pickles will be ready to eat in about 24 hours but will taste even better after a few days.
Tips for Successful Pickling
- Use Fresh Ingredients: The quality of your ingredients will significantly affect the taste of your pickles. Always use fresh, high-quality produce.
- Experiment with Flavors: Don’t be afraid to try different spices, herbs, and vegetables. Creating your unique blend is part of the fun!
- Label Your Jars: If you’re trying multiple recipes, label your jars with the contents and the date you made them.
- Storage: Quick pickles should be stored in the refrigerator and typically last for about 2-3 months. Fermented pickles can last longer if stored properly.
- Safety First: Ensure that your jars and lids are sterilized to prevent contamination. Always check for any signs of spoilage before consuming.
Common Pickling Problems and Solutions
As a beginner, you may encounter some issues while pickling. Here are some common problems and how to resolve them:
- Soft Pickles: This can happen if you use older cucumbers or if you don’t use enough salt. Always choose fresh cucumbers and follow the recipe measurements.
- Cloudy Brine: Cloudy brine can be a sign of spoilage. Ensure that your jars are properly sterilized and the ingredients are fresh.
- Unwanted Flavor: If your pickles taste off, it might be due to the spices used. Experiment with different combinations to find what you like best.
Final Thoughts
Pickling is a rewarding and enjoyable process that allows you to preserve the bounty of your garden or local market while creating delicious, tangy treats. With these step-by-step instructions, you can confidently embark on your pickling journey. Don’t be afraid to experiment and make your recipes unique. Happy pickling!
Related articles
 The Art of Fermenting
A Beginner's Guide to Preserving Food
The Art of Fermenting
A Beginner's Guide to Preserving Food
 Pickling 101
Essential Techniques for Flavorful Preservation
Pickling 101
Essential Techniques for Flavorful Preservation
 Fermentation vs. Pickling
Understanding the Differences
Fermentation vs. Pickling
Understanding the Differences
 5 Reasons to Start Fermenting Your Own Vegetables
 Exploring Different Types of Pickles Around the World
 The Health Benefits of Fermented Foods
What You Need to Know
The Health Benefits of Fermented Foods
What You Need to Know
 Creative Pickling Recipes
Beyond Cucumbers
Creative Pickling Recipes
Beyond Cucumbers
 Fermenting Basics
Tools and Ingredients You Need
Fermenting Basics
Tools and Ingredients You Need
 How to Create a Flavorful Fermented Hot Sauce at Home
 The Science of Fermentation
How Microbes Work for Us
The Science of Fermentation
How Microbes Work for Us
 A Guide to Quick Pickling
Fast and Flavorful Techniques
A Guide to Quick Pickling
Fast and Flavorful Techniques
 From Sauerkraut to Kimchi
Fermented Classics You Can Make
From Sauerkraut to Kimchi
Fermented Classics You Can Make
 Exploring the Flavor Profiles of Different Fermented Foods
 Fermented Beverages
Homemade Kombucha and Beyond
Fermented Beverages
Homemade Kombucha and Beyond
 Pickling for Beginners
Step-by-Step Instructions
Pickling for Beginners
Step-by-Step Instructions
 The Cultural Significance of Fermentation and Pickling
 Sustainable Eating
How Fermenting and Pickling Reduce Food Waste
Sustainable Eating
How Fermenting and Pickling Reduce Food Waste
 Fermented Foods
A Tasty Way to Boost Your Gut Health
Fermented Foods
A Tasty Way to Boost Your Gut Health
 The Best Vegetables for Fermentation
A Comprehensive Guide
The Best Vegetables for Fermentation
A Comprehensive Guide
 How to Use Pickles in Your Culinary Creations
 Creating Your Own Fermentation Station at Home
 The History of Fermentation and Pickling
A Culinary Journey
The History of Fermentation and Pickling
A Culinary Journey
 Exploring Fermentation
Recipes for Seasonal Ingredients
Exploring Fermentation
Recipes for Seasonal Ingredients
 The Benefits of Fermenting Herbs and Spices
 Pickling Fruits
Sweet and Savory Recipes to Try
Pickling Fruits
Sweet and Savory Recipes to Try
 Fermenting for Flavor
Enhancing Dishes with Homemade Ferments
Fermenting for Flavor
Enhancing Dishes with Homemade Ferments
 The Role of Salt in Fermentation and Pickling
 Pickling and Fermenting for a Flavorful Pantry
 How to Host a Fermentation and Pickling Workshop
 Fermentation Myths
Debunking Common Misconceptions
Fermentation Myths
Debunking Common Misconceptions
 Innovative Pickling Techniques
Experimenting with Flavors
Innovative Pickling Techniques
Experimenting with Flavors
 Fermenting for Flavor
Pairing Examples for Every Dish
Fermenting for Flavor
Pairing Examples for Every Dish
 The Best Containers for Fermenting and Pickling
 A Year of Preserving
Seasonal Fermenting and Pickling Projects
A Year of Preserving
Seasonal Fermenting and Pickling Projects
Fermented Foods and Their Role in Global Cuisines
The Joy of Fermenting
Community and Connection Through Food
Tips for Successful Fermentation
Troubleshooting Common Issues
Pairing Wine with Fermented and Pickled Foods
Fermentation and Pickling for Beginners
Your First Batch
The Environmental Impact of Fermenting and Pickling
Fermented Foods for Every Season
Recipes and Ideas
The Future of Food Preservation
Trends in Fermentation and Pickling
Fermenting and Pickling
A Path to Culinary Creativity
Understanding pH Levels in Fermentation and Pickling
The Best Spices for Fermentation and Pickling
Fermentation for Flavor
Enhancing Sauces and Dressings
Pickling Techniques
Traditional vs. Modern Methods
Fermenting with Kids
Fun Projects for the Whole Family
Fermentation and Pickling
Recipes for Preserving Summer's Bounty
The Benefits of Fermenting Grains
Exploring Sourdough and More
Categories